
Holistic Nutrition Coach Tammy Chang’s Beet Purée recipe.
Read MoreTamari Ginger Chicken

When I began cooking, this was one of the first recipes I learned when going over to eat at my former health coach's house, Molly. Thanks for the inspiration Molly! It fits in with my love of asian flavors and simplicity. Chicken falling off the bone is one of my favorite things, especially in winter months where the ginger in this recipe adds a warming touch. Of course, you can add as much or as little ginger as you like, or simply place large chunks and remove them before eating.
This is a great recipe for cooking on a Sunday, or you can also place it in the crockpot over night and wake up and have a bit of this for breakfast!
The directions below are for stove top cooking, but if you are using a crock pot, simply put all ingredients in, and let cook for at least 6 hours. Read the directions before slicing all the ingredients (which is something I always neglect to do). The directions include my preferred time to chop ingredients while other things cook! This recipe also works with sliced kale, added in the last 5 minutes of cooking.
Tamari Ginger Chicken
Serves 4
3-4 organic chicken legs, with skin and bone
1 tablespoon cooking oil (I prefer butter, coconut oil, ghee, or animal fat)
one medium yellow onion
1/2 cup filtered water or broth
1 cup sliced crimini mushrooms
2 large carrots sliced
3 cloves garlic minced
1 tablespoon ginger, minced
3 tablespoons tamari
2 tablespoons mirin or rice wine (optional)
Directions
1) Take a large sauté pan, and place it over medium heat, wait until pan is warm.
2) Place in cooking fat and melt.
3) Place in chicken and allow to begin cooking while you slice onions and mushrooms. Flip chicken after a few minutes.
4) Add in onions, mushrooms, broth, tamari and rice wine if using. Stir and cover.
5) Mince ginger, garlic, and slice carrots, add to pan. Stir.
6) Cover and allow to simmer for 45 minutes. Check and stir periodically. There should be a thin layer of liquid at the bottom, add more broth or water if it starts to dry.
7) Turn off heat and allow to cool slightly before serving.
Cook for your family, or just for yourself to eat throughout the week! Don't forget to save the bones for bone broth later ;)
Broccoli Cream Soup
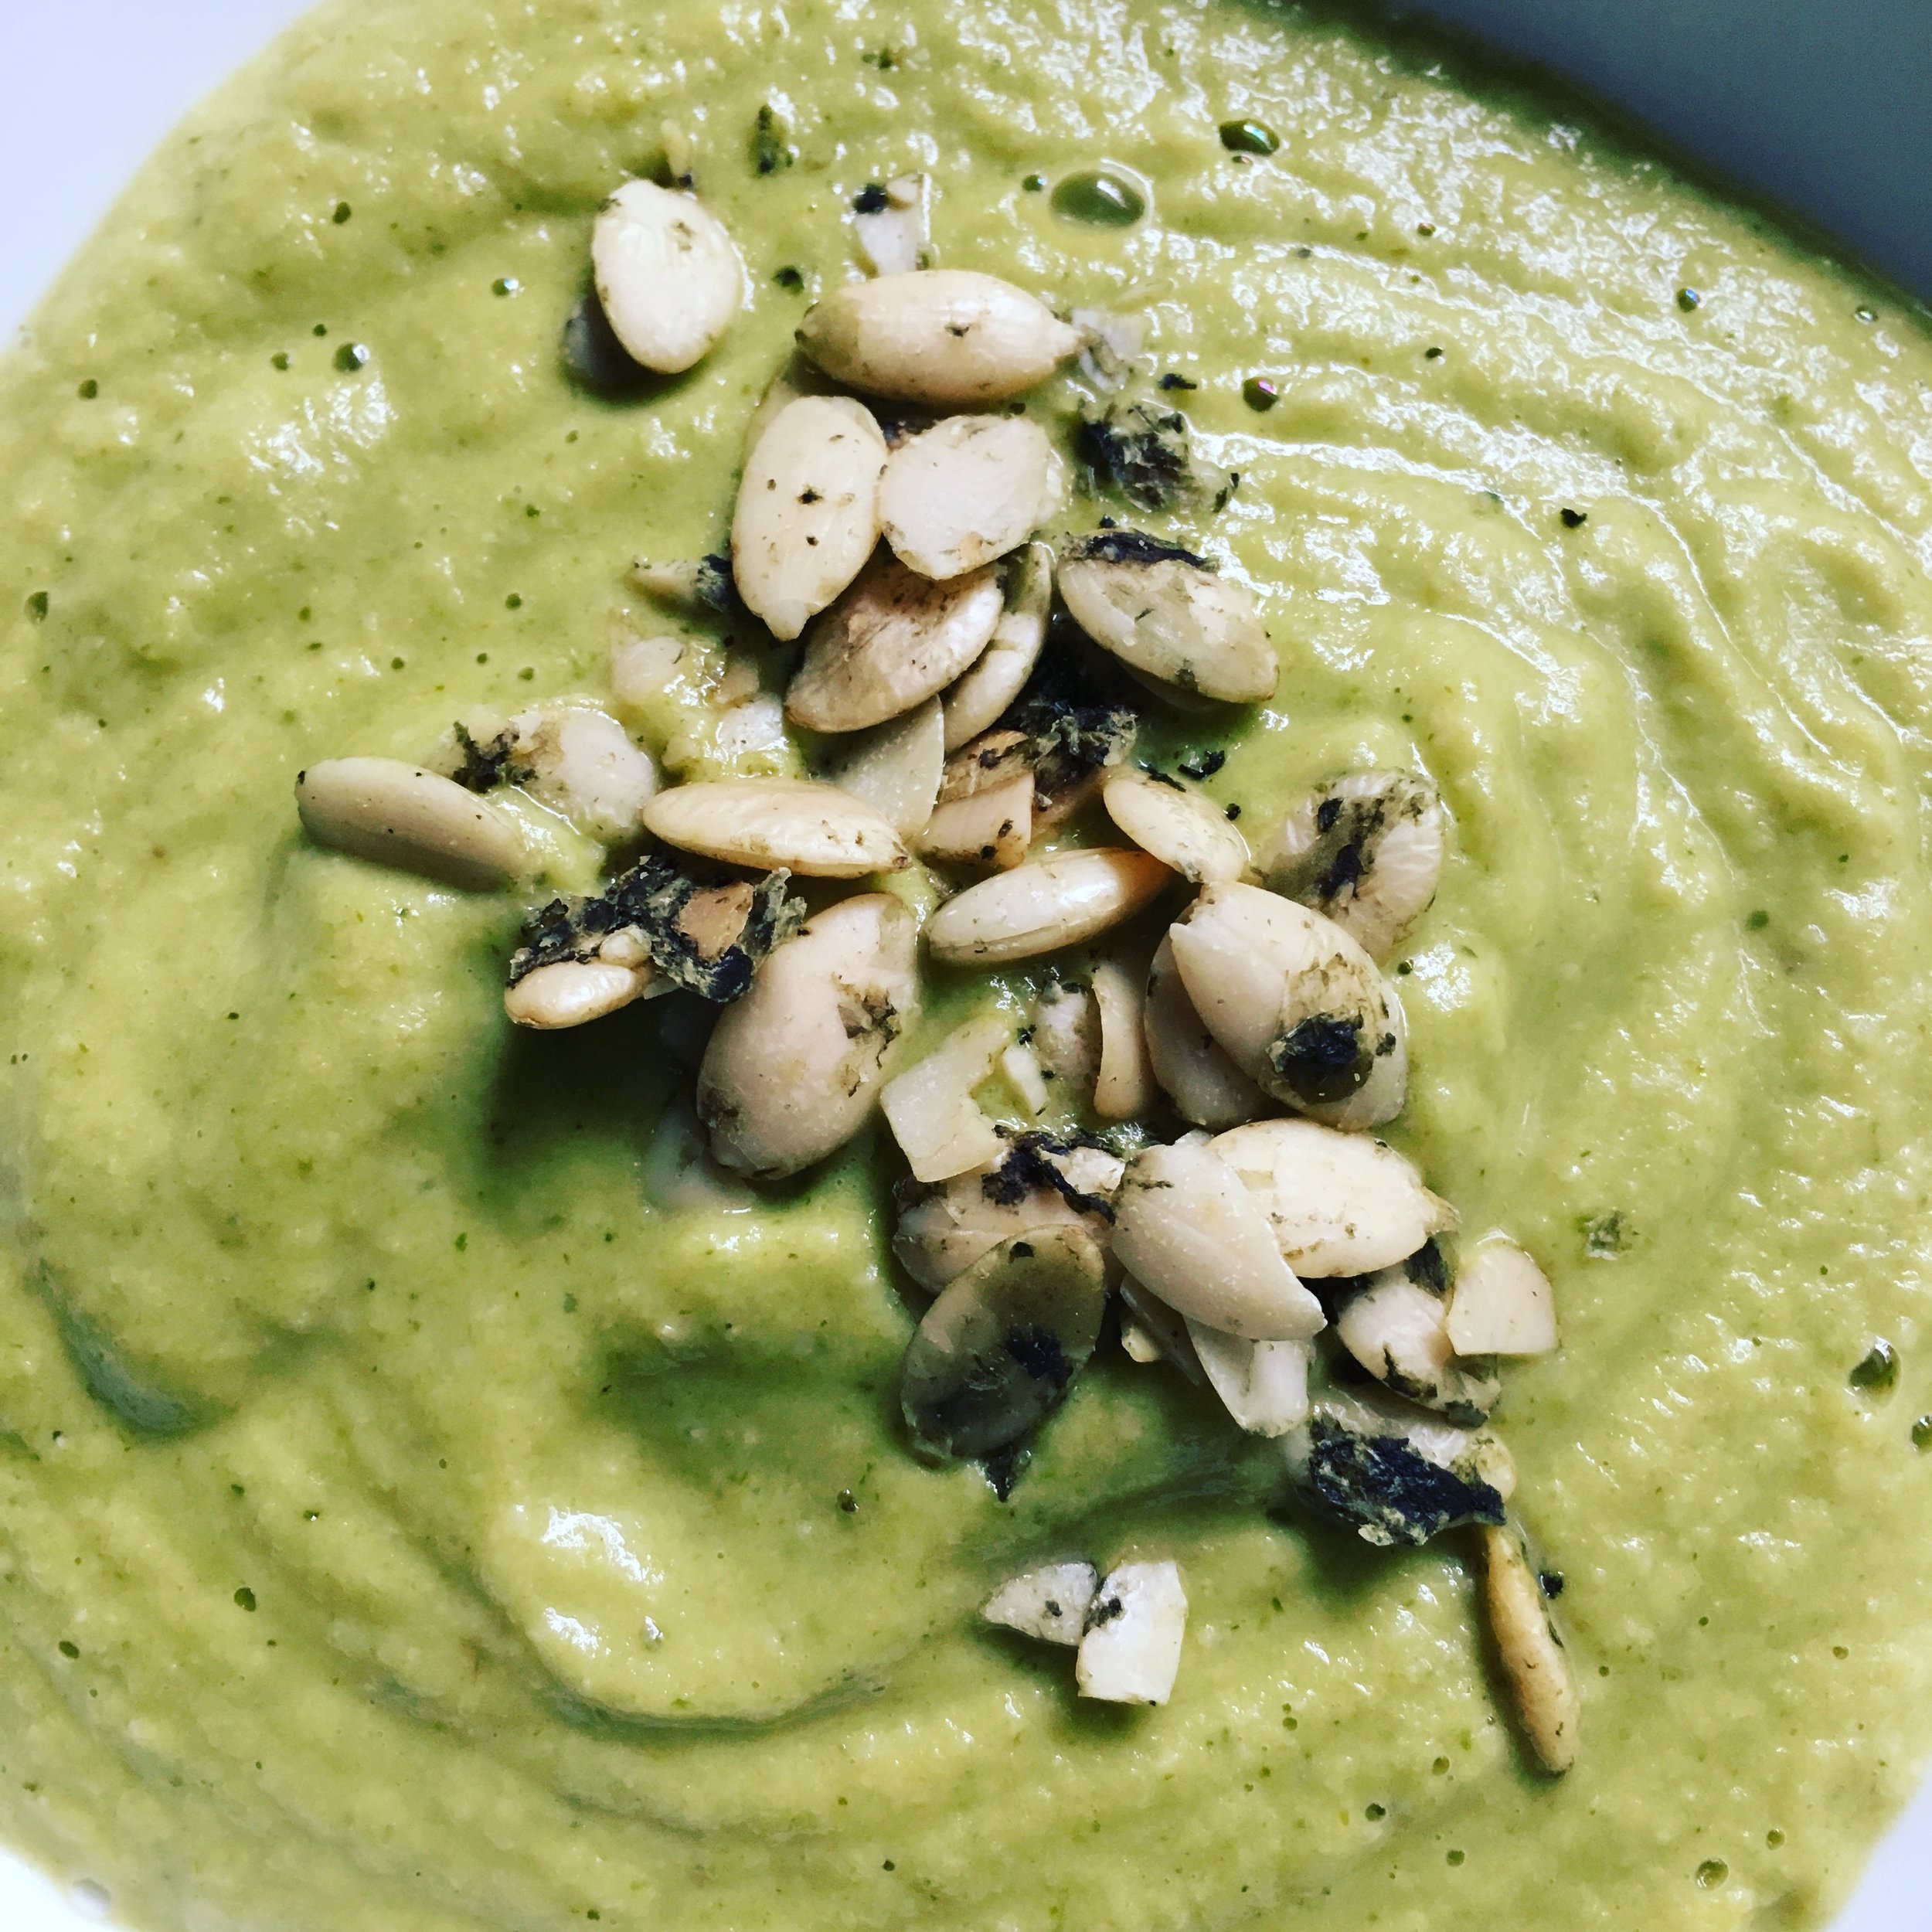
Vegetables are delicious. Vegetable Cream Soup is even more delicious. In this recipe, I've added some cashews for some healthy fat that helps with nutrient absorption and adds a bit of creaminess... it will be hard to believe that it's healthy. You could definitely use this recipe and simply switch out some of the vegetables, and if you don't have bone broth, you can use water. However, you know how much I love broth, both for added nutrients and for added taste.
A vegetable cream soup such as this is one of the simplest ways to get a ton of vegetables into our diet. This soup is a more easily digestible form of vegetables, and you can mix and match as much as you want. This is one of my favorite combinations, broccoli and whatever else I have in the fridge. The following recipe is the base. Enjoy and have fun exploring!
Ingredients (Makes 4 servings)
Gluten and Dairy Free
2 quarts liquid (filtered water or broth)
One head broccoli, roughly chopped
One medium onion, roughly chopped
3 medium carrot sticks, roughly chopped
3 cloves garlic crushed
1 cup cashews (soaked)
Plus: Any vegetables that you have leftover in the fridge that you need to get rid of. Root vegetables work great.
Salt and pepper to taste
Directions:
1) In a large sauté pan, sauté onions until translucent. Throw in the rest of the vegetables and cook until soft.
2) Throw everything into a blender, add broth, cashews, a large pinch of salt and pepper and blend with center top piece off.
3) Taste and adjust salt and pepper.
4) Use a spatula to pour everything into a medium stock pot and heat until ready to serve!
5) Garnish with some olive oil or other nuts.
6) Freeze some if desired and save for a rainy day.
Making Ghee

Ghee is used widely in Indian cooking, and is used in various religious ceremonies. It’s made by simmering butter, which evaporates the moisture (butter can be 18% water) and causes the milk solids to sink to the bottom. Therefore, some people who are lactose intolerant, are able to tolerate ghee as opposed to butter. Clarified butter is made in a similar manner, but not simmered as long. In ghee, the milk solids are browned which give it a nuttier taste.
Ghee is regarded as anti-inflammatory and is said to boost memory. In Ayurvedic medicine, it is used to cure a whole host of ailments, from treating burns to aiding in digestion.
Ghee is ideal for frying since the smoke point (when molecules start to break down) is 482 degrees F. It is probably the only oil that I would feel comfortable using in deep frying. It does not need to be refrigerated, and can last about 6 months in a cool dark place. With refrigeration, it can last up to a year. Be careful not to add any moisture as this will cause spoilage.
Since it is so simple and relatively quick to make, I don't make large batches at once. I use it pretty frequently, so I keep it in my pantry, which keeps it soft and easy to scoop out. Note: I have noticed that after a few months, it loses its nutty aroma and starts to smell stale, so I try to use it regularly.
How to Make Ghee
Makes 1 pint
2 sticks unsalted organic butter
1) In a saucepan, heat butter on low until it starts to simmer. A white foam will rise to the top and it should start to bubble.
2) Check every few minutes and stir occasionally.
3) You will start to see white milk solids cling to the bottom of the pan.
4) When they turn nice, golden brown (in about 10 minutes) the ghee is done!
Some say the aroma is like popcorn, but to me it smells like a buttery croissant. Careful not to burn the solids on the bottom as this will affect the flavor. You can also simmer with different herbs to add flavor: thyme, rosemary, basil and garlic are good options. Strain and place in a glass jar, opaque if possible, but otherwise store in a cool dark place. Some people sprinkle the browned milk solids on toast or over potatoes. Use frequently and feel proud that you make it yourself!
References
Fallon, Sally and Mary Enig, Ph.D. (2001) Nourishing Traditions. Washington D.C.: New Trends Publishing
Murray, M. (2005). The Encyclopedia of Healing Foods. New York: ATRIA Books.
Wood, Rebecca. (2010) The New Whole Foods Encyclopedia. New York. Penguin Books.
*LEGAL DISCLAIMER – This website (including any/all site pages, blog posts, blog comments, forum, etc.) is not intended to replace the services of a physician, nor does it constitute a doctor-patient relationship. Information is provided for informational purposes only and is not a substitute for professional medical advice. You should not use the information on this website for diagnosing or treating a medical or health condition. If you have or suspect you have an urgent medical problem, promptly contact your professional healthcare provider. Any application of the recommendations in this website is at the reader’s discretion. Tammy Chang and The Nourished Belly are not liable for any direct or indirect claim, loss or damage resulting from use of this website and/or any web site(s) linked to/from it. Readers should consult their own physicians concerning the recommendations in this website.